HOW TO MAKE YOUR LUMEN PRINT
used that when compressed will not break the glass, please be careful.
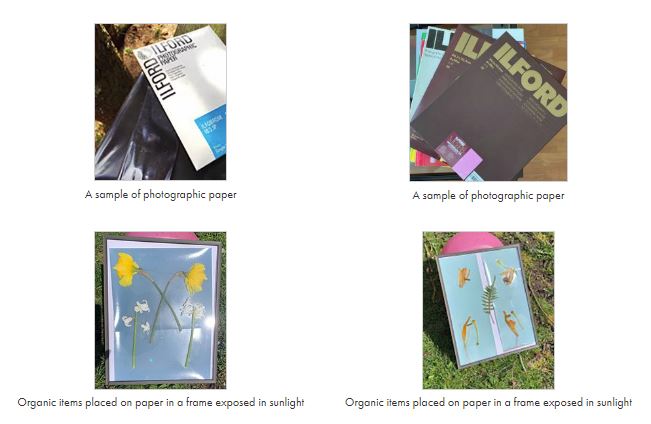
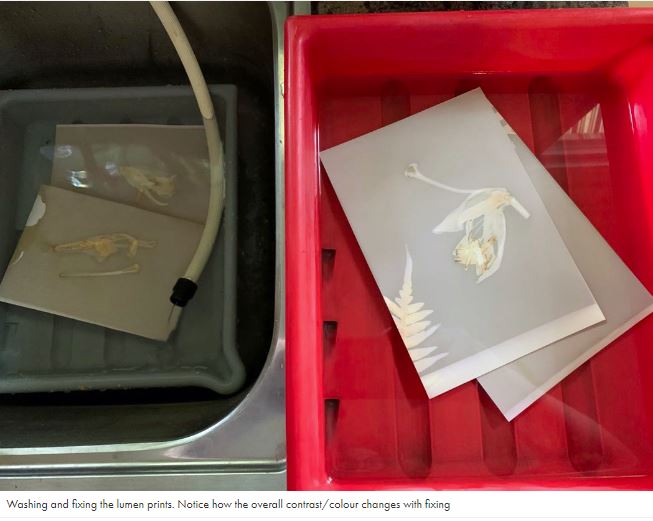
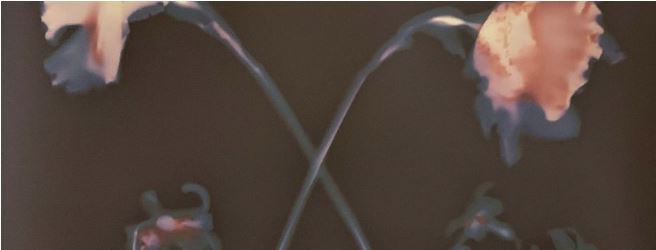
SOME PICTURES TO ILLUSTRATE THE PROCESS
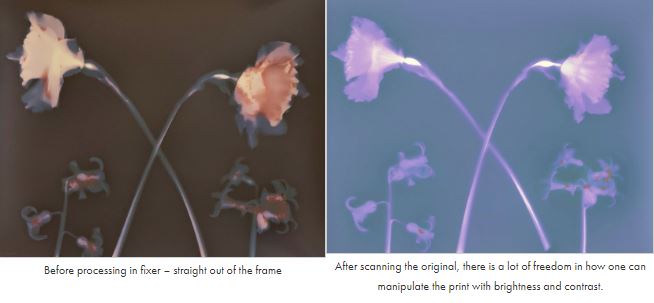
THE END RESULTS


2024-02-13
These unprecedented times are a call for artists to step up and help deter against feelings of restlessness and boredom. These are just some suggested ideas that you might want to try.
Through my modest Instagram presence and blog I’ve tried to do something for the international arts community and here is something that has worked out quite nicely and is extremely easy to perform. This is just one activity and I know there are a plethora of others out there as well; hope this one may brighten your day and those around you ?
If perchance you just happen to have some old photographic paper stowed away, this little project is something you might find interesting.